A Beginner's Guide to Starting Bokashi Composting
A Beginner's Guide to Starting Bokashi Composting
Bokashi composting has quietly become one of the most practical waste-reduction methods for people who live in apartments, don't have outdoor space, or simply want to compost meat, dairy, and cooked food without attracting pests. Unlike traditional backyard piles that rely on oxygen-loving microbes, bokashi uses a fermentation process that works in a sealed container, indoors, year-round. That makes it appealing to renters, small-space gardeners, and anyone frustrated by how slowly ordinary composting handles certain food scraps.
This guide walks through exactly what's involved in getting started with bokashi, from the supplies you'll need to the step-by-step process of fermenting and burying your first batch. It also covers the mistakes that trip up a lot of first-time users, many of which have nothing to do with the method itself and everything to do with unrealistic expectations about what fermentation actually produces.
By the end, you should have a clear sense of whether bokashi composting basics fit your household's routine, and what to do differently if your first attempt doesn't go smoothly.
What You'll Need to Get Started with Bokashi Composting
The equipment list for bokashi is short, which is part of its appeal. At minimum, you need an airtight bucket with a spigot near the bottom, a supply of bokashi bran (a carrier inoculated with beneficial microorganisms, usually lactobacillus and yeast cultures), and a way to press food waste down firmly after each addition. Many people use a purpose-built two-bucket system, where the inner bucket has a perforated false bottom that lets liquid drain into the outer bucket for easy collection.
It's worth noting that the bran itself is doing the heavy lifting here. Without an active microbial culture, sealing food scraps in a bucket just produces rot, not fermentation. This is one detail that separates bokashi fermentation composting guide material from ordinary storage advice — the bran isn't optional seasoning, it's the mechanism that drives the entire process. Buying bran from a reliable source, or making your own with wheat bran and an effective microorganism starter, matters more than the bucket brand or design.
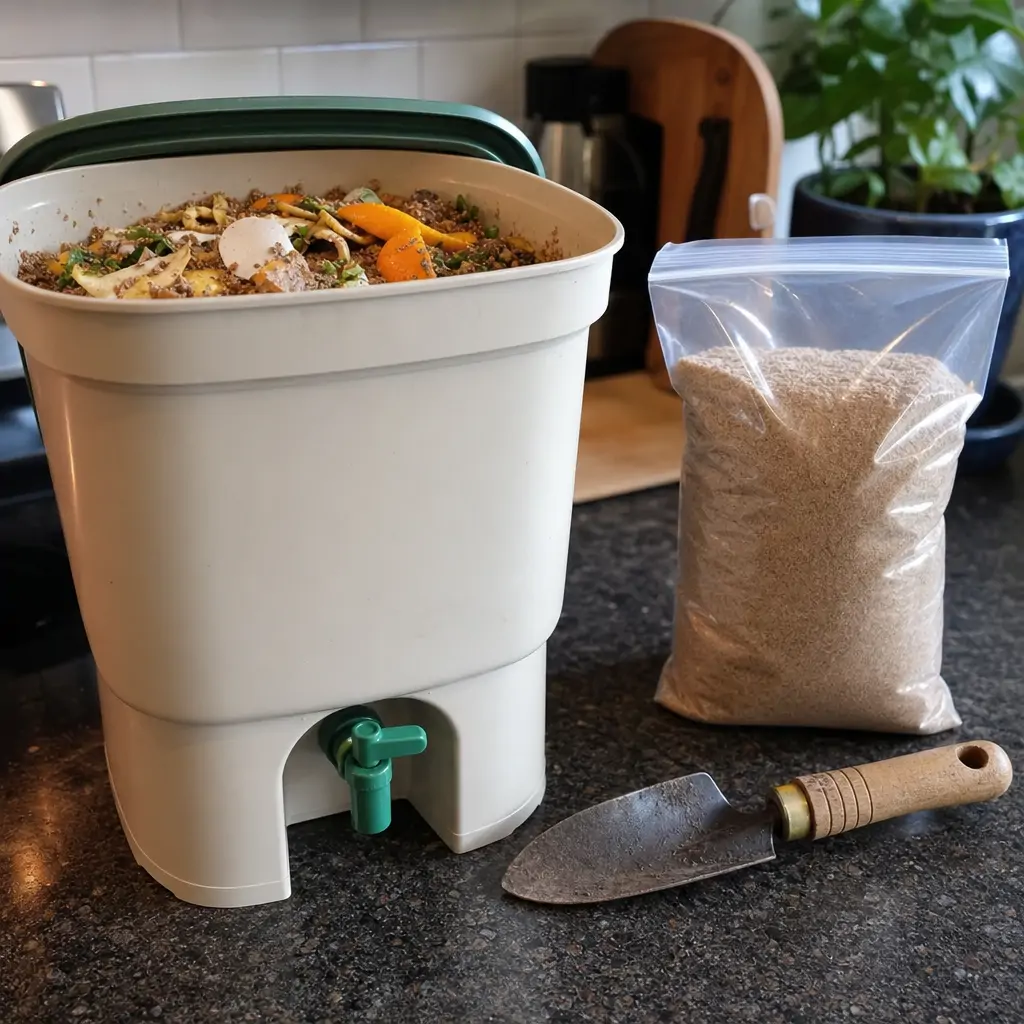
Beyond the bucket and bran, a few smaller items make the process easier. A small trowel or hand fork helps when it's time to bury fermented material in soil. A kitchen scale isn't necessary but helps you get a feel for how much bran to use per batch. Some households also keep a second bucket going, so one can ferment while the other fills, which shortens the wait between finishing a cycle and starting the next.
Takeaway: the right combination of an airtight container, active bran, and a plan for burying the output is what actually determines success, not the specific product line you choose.
Step-by-Step: Setting Up and Running Your Bokashi Bin
Once the supplies are in hand, the actual process follows a predictable rhythm. It helps to think of it less like traditional composting and more like making sauerkraut — you're managing an anaerobic fermentation, not encouraging decomposition in open air.
Choosing and Preparing Your Bokashi Bucket
Start by placing the bucket somewhere convenient but out of direct sunlight, since heat can interfere with the fermentation cultures. A spot under the sink or in a pantry works well. Line the bottom with a thin layer of bran before adding any food waste; this gives the microbial culture a head start and helps prevent odors from developing before fermentation kicks in.
Adding Food Scraps and Bokashi Bran
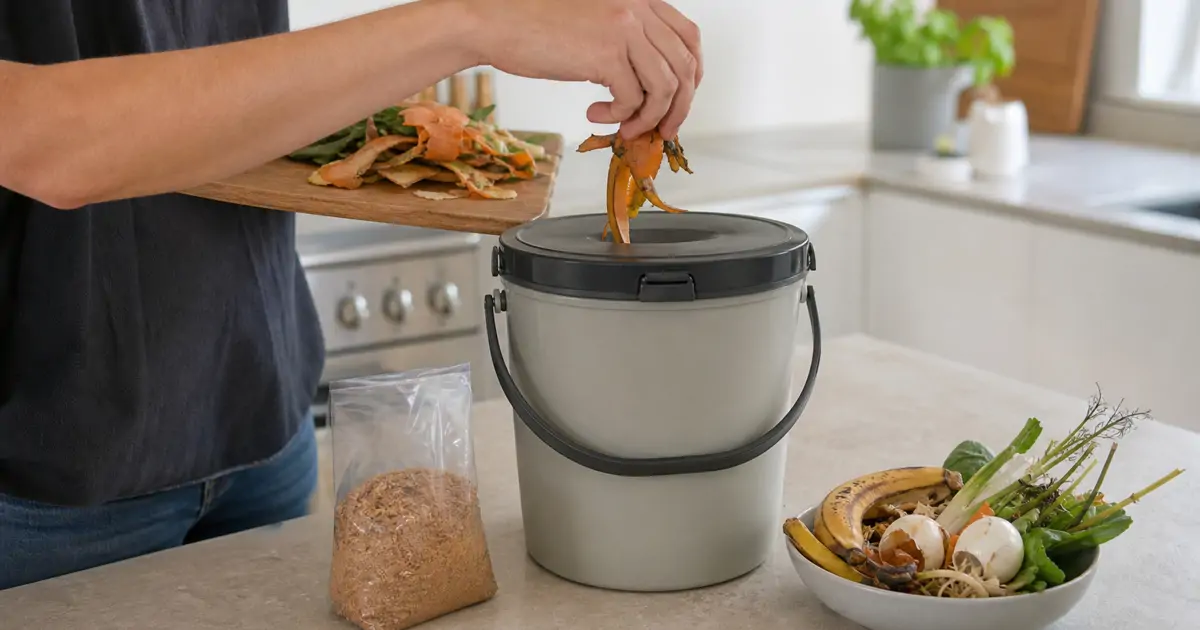
Add kitchen scraps in thin layers rather than dumping in a large amount at once. After each addition, sprinkle a handful of bran over the surface and press down firmly with a plate, a potato masher, or your hands, to remove trapped air pockets. Oxygen is the enemy here, so the tighter the seal on both the food and the lid, the more consistent the fermentation. This is where a lot of first-time users underestimate how important the pressing step is, since visible air gaps can allow mold to establish instead of the intended fermentation culture.
Fermenting, Draining, and Burying the Waste
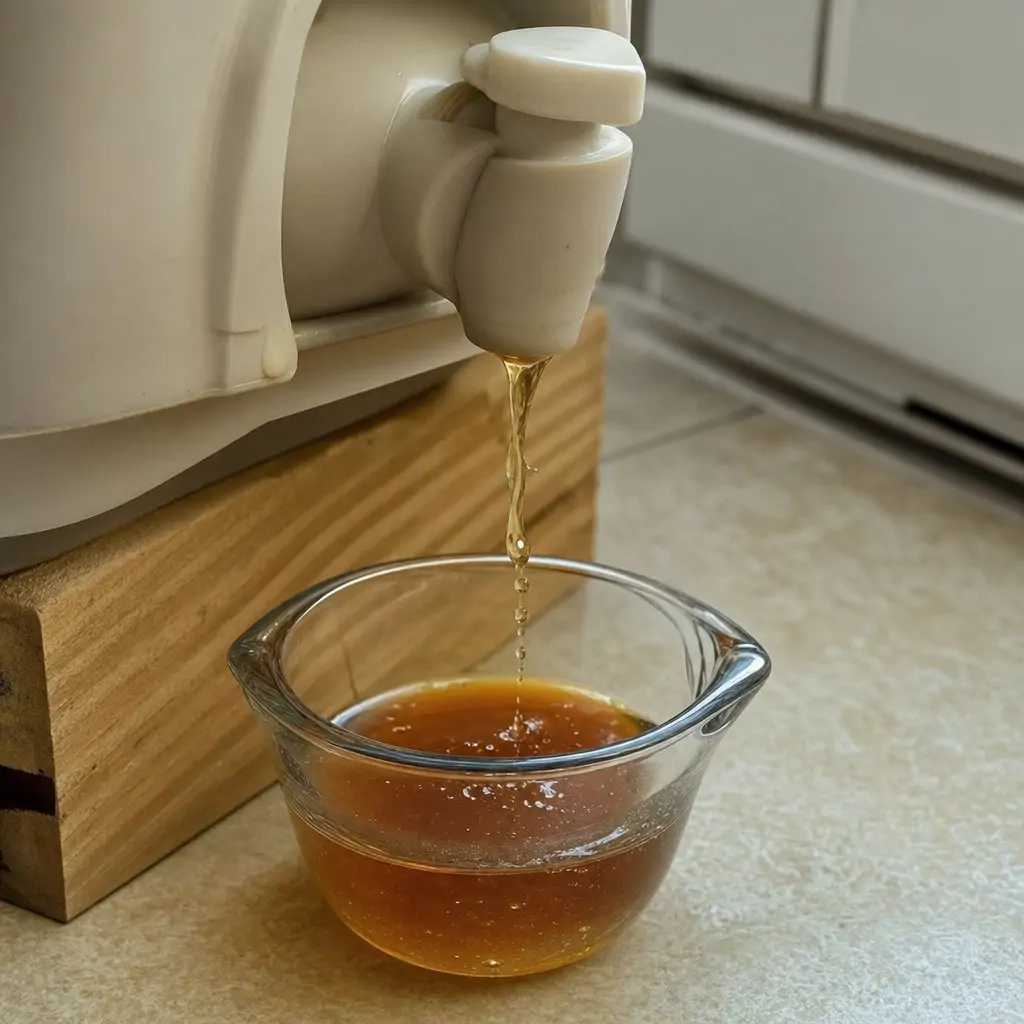
Once the bucket is full, seal it completely and let it sit undisturbed for about two weeks. During this stage, drain the liquid byproduct — often called bokashi tea — every day or two using the spigot, since it can sour quickly if left to accumulate. This liquid, diluted heavily with water, can be used to feed potted plants or poured down drains to help reduce buildup. After the fermentation period ends, the solid material should smell tangy and pickled rather than rotten. It still needs to be buried in soil or added to an active outdoor compost pile for a few weeks before it fully breaks down into usable material, since fermentation preserves the scraps rather than fully decomposing them.
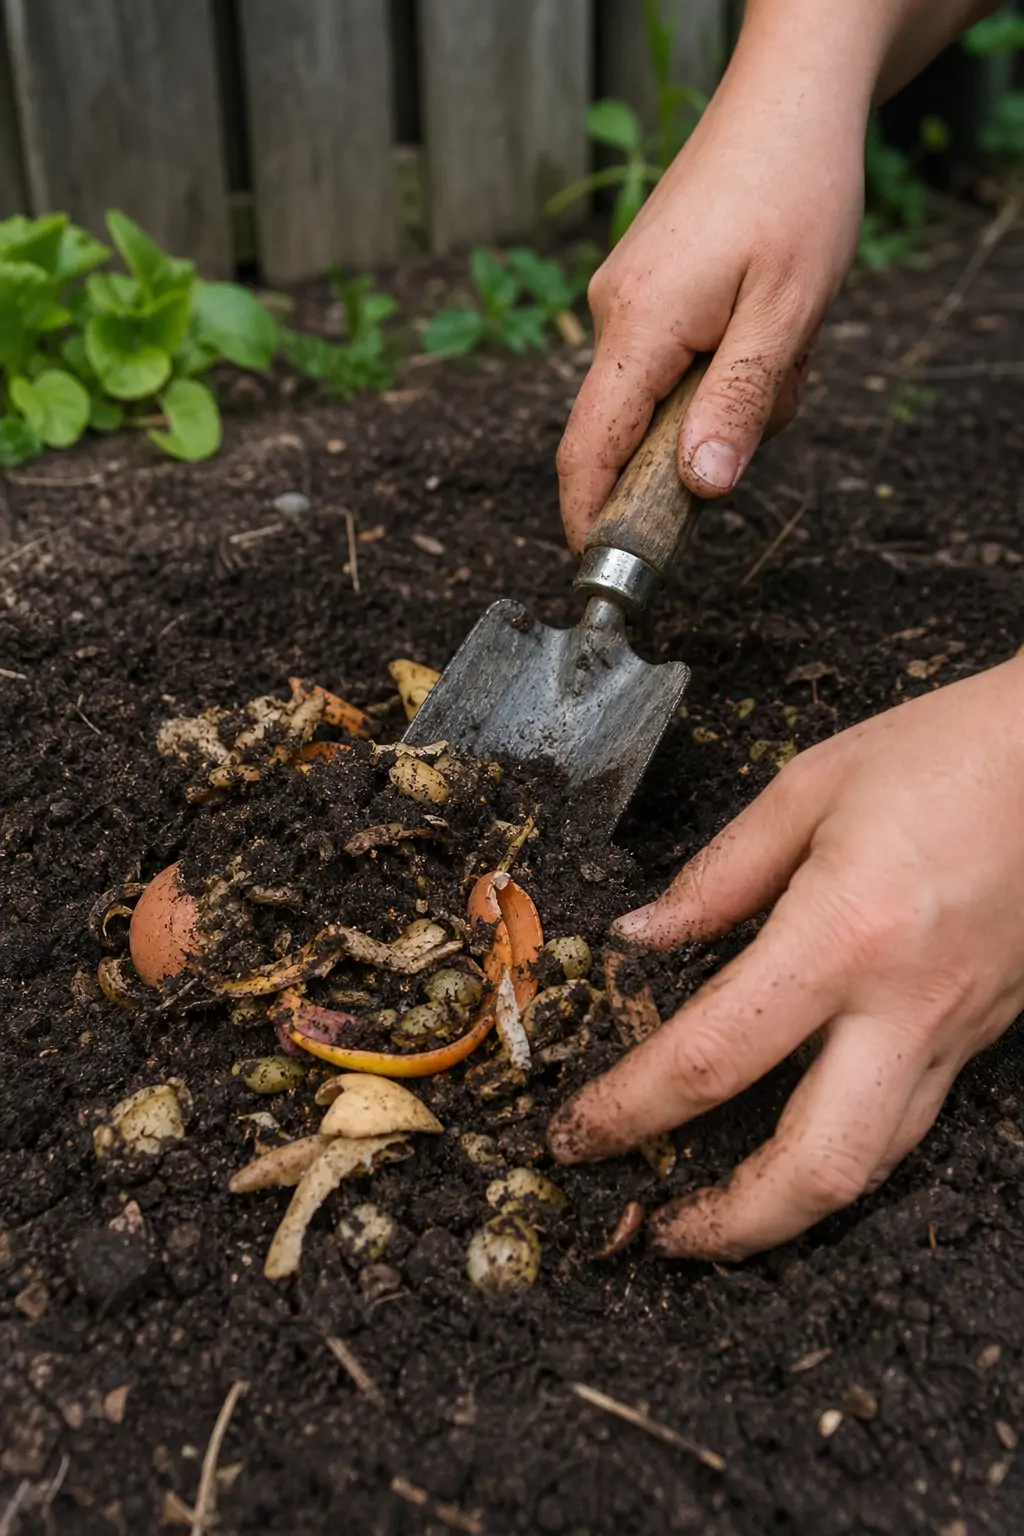
Many newcomers assume the bucket process alone finishes the job, but burial is the step that actually completes decomposition. Skipping it, or leaving fermented waste sitting in the bucket too long, is one of the most common reasons people feel bokashi composting basics didn't work for them.
Takeaway: bokashi is a two-stage system — ferment in the bucket, then bury or compost the output — and skipping the second stage is the single biggest reason results disappoint.
Common Mistakes That Slow Down Bokashi Fermentation
Several recurring problems show up across households trying bokashi for the first time, and most trace back to a handful of avoidable habits. Understanding these ahead of time can save weeks of frustration.
One frequent issue is opening the bucket too often to check on progress. Every time the lid comes off, oxygen gets reintroduced, which disrupts the anaerobic conditions the process depends on. It's better to trust the two-week timeline and resist the urge to peek.
Another common mistake is not draining the liquid regularly. Left too long, the tea can turn stagnant and produce a much stronger, less pleasant smell, which sometimes gets mistaken for a sign that the whole batch has failed. In most cases, the solid material inside is still fine; it just needs more frequent draining going forward.
A third pattern worth mentioning: people sometimes compare bokashi directly to bokashi vs traditional composting, expecting the finished product to look like garden-ready compost straight out of the bucket. It won't. The fermented scraps still resemble the original food, just softened and tangy-smelling. That's normal, and it's a key difference between bokashi and regular compost that a lot of guides gloss over. The transformation into soil-ready material happens after burial, not before.
Finally, using too little bran, or using bran that's old and no longer has an active culture, is a quiet culprit behind failed batches. Bran loses potency over time, especially if stored in a humid environment, so checking freshness before starting a new bucket is a simple habit that prevents a lot of downstream problems.
Takeaway: most bokashi failures come down to too much air exposure, inconsistent draining, or misunderstanding what fermented waste is supposed to look like — not a flaw in the method itself.
Bokashi composting rewards a bit of patience and attention to routine more than it rewards specialized equipment. Once the rhythm of layering, pressing, draining, and burying becomes familiar, it fits into a kitchen routine almost as easily as taking out the regular trash. For anyone comparing options, it's worth remembering that methods like vermicomposting basics guide approaches or worm composting for beginners serve different needs — bokashi handles the food scraps a worm bin can't, while other systems finish the breakdown into finished soil.
Getting started with bokashi doesn't require a big investment or a steep learning curve, just a willingness to follow the two-stage process and give it the time fermentation actually needs. Once that clicks, it becomes one of the more reliable ways to keep food waste out of the landfill regardless of how much yard space is available.